- Published on
Deploy Laravel 12 on FASTPANEL® with PHP 8.4 and Nginx
Table of Contents
Overview
In our previous guide, we walked through how to install FASTPANEL® on an OrangeVPS server running Ubuntu 24.04 LTS. Now that FASTPANEL® is installed and running, it’s time to move on to the next step — deploying a Laravel application on your server.
In this part of the series, you’ll learn how to:
- Prepare your environment for Laravel 12
- Configure PHP 8.4 and Nginx
- Deploy your Laravel project through FASTPANEL® efficiently and securely
By the end of this tutorial, your Laravel app will be live and production-ready under FASTPANEL®, fully optimized for performance. 🚀
Initial Preparation
Before deploying Laravel, make sure your server environment is properly prepared.
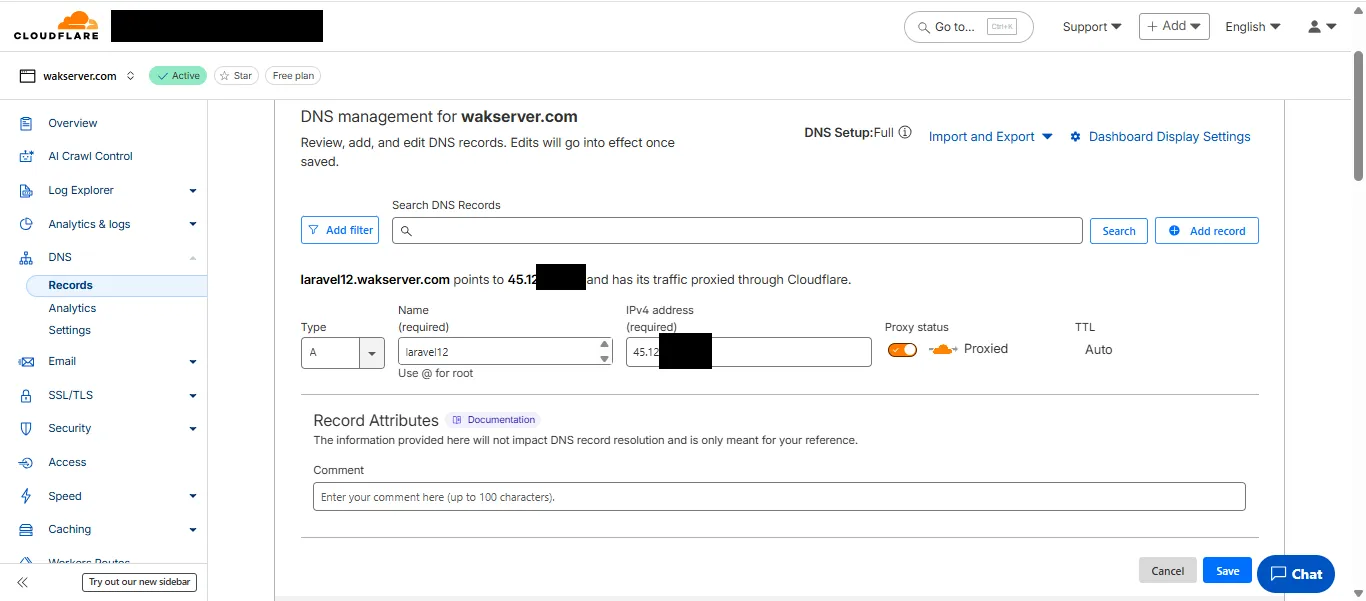
Pointing domain to FASTPANEL®
In this example, I’m using Cloudflare and will create a subdomain for this project: https://laravel12.wakserver.com
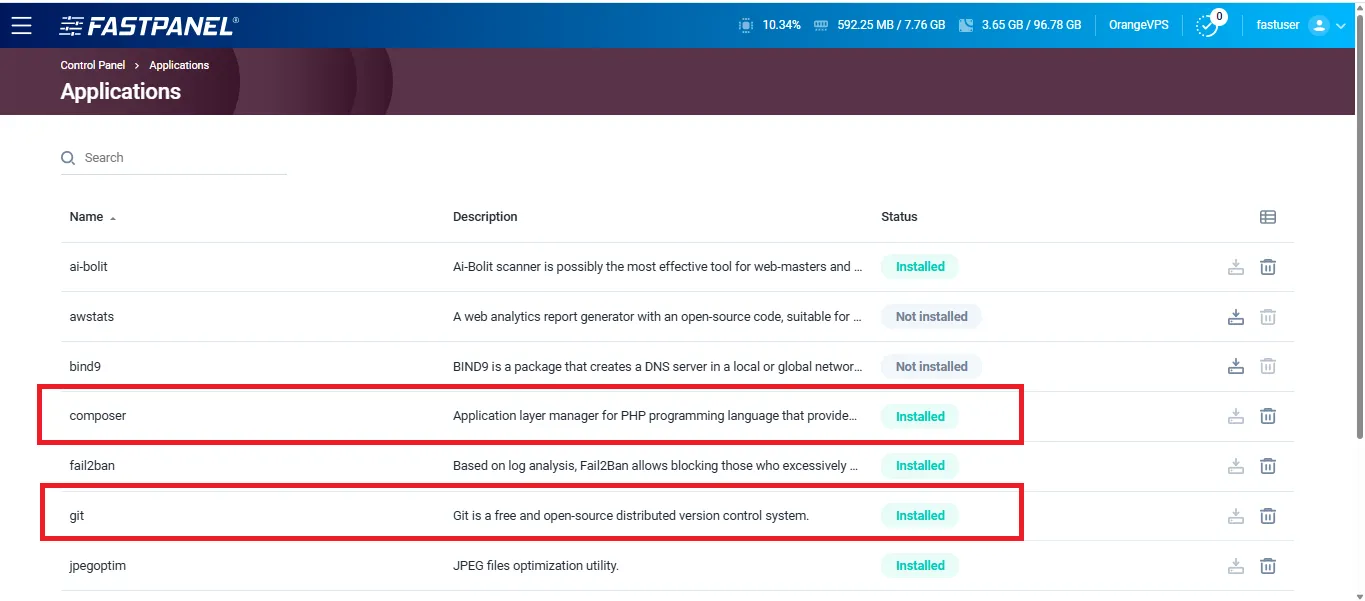
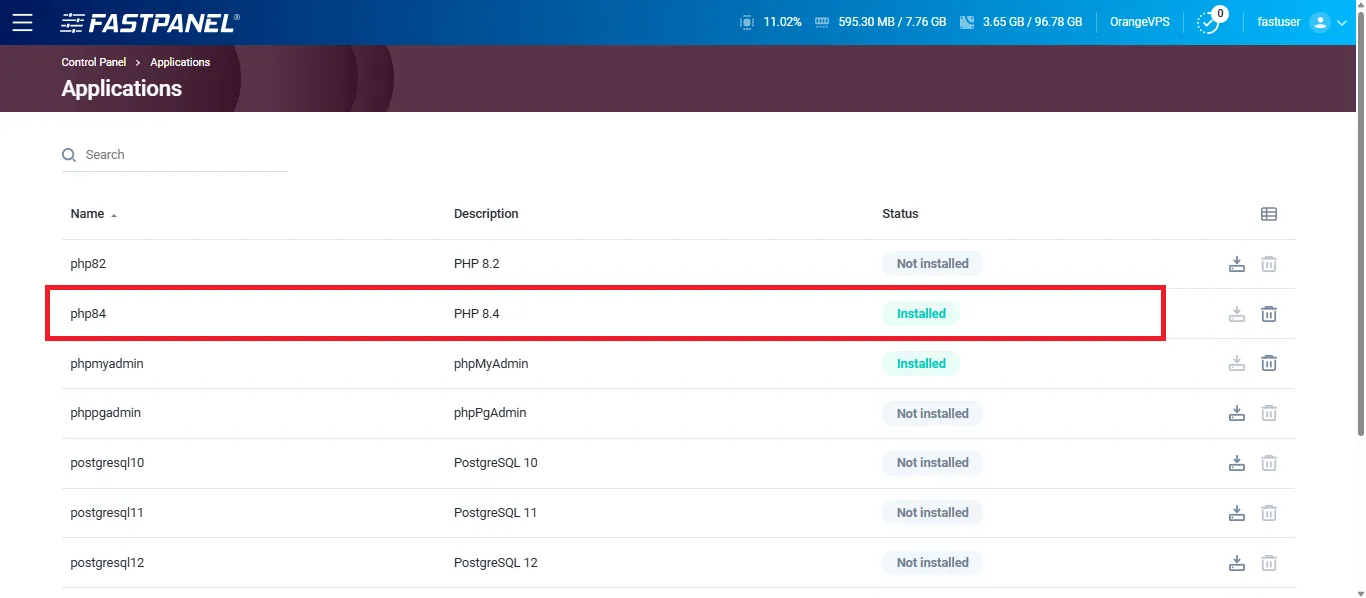
Install Requirements
Open the Settings → Application section in FASTPANEL® make sure this application is installed:
- composer
- git (if you will get project from github)
- php84
- memcached (optional)
- redis (optional)
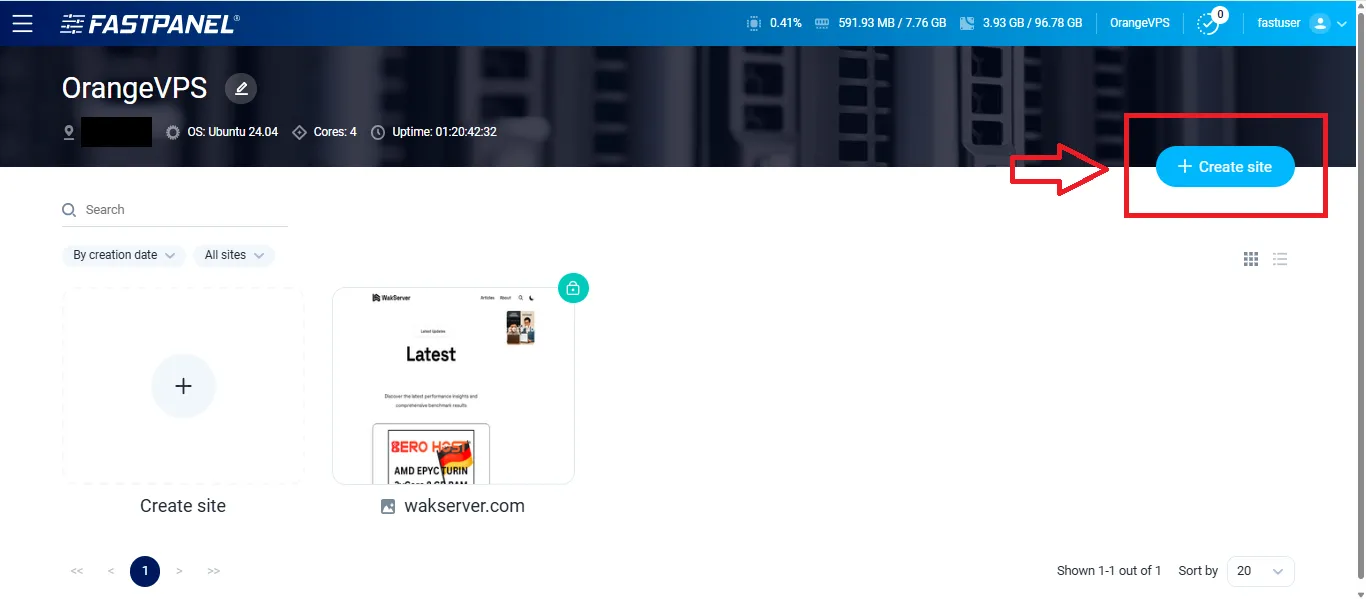
Create Website
Now, we will create website for this laravel project.
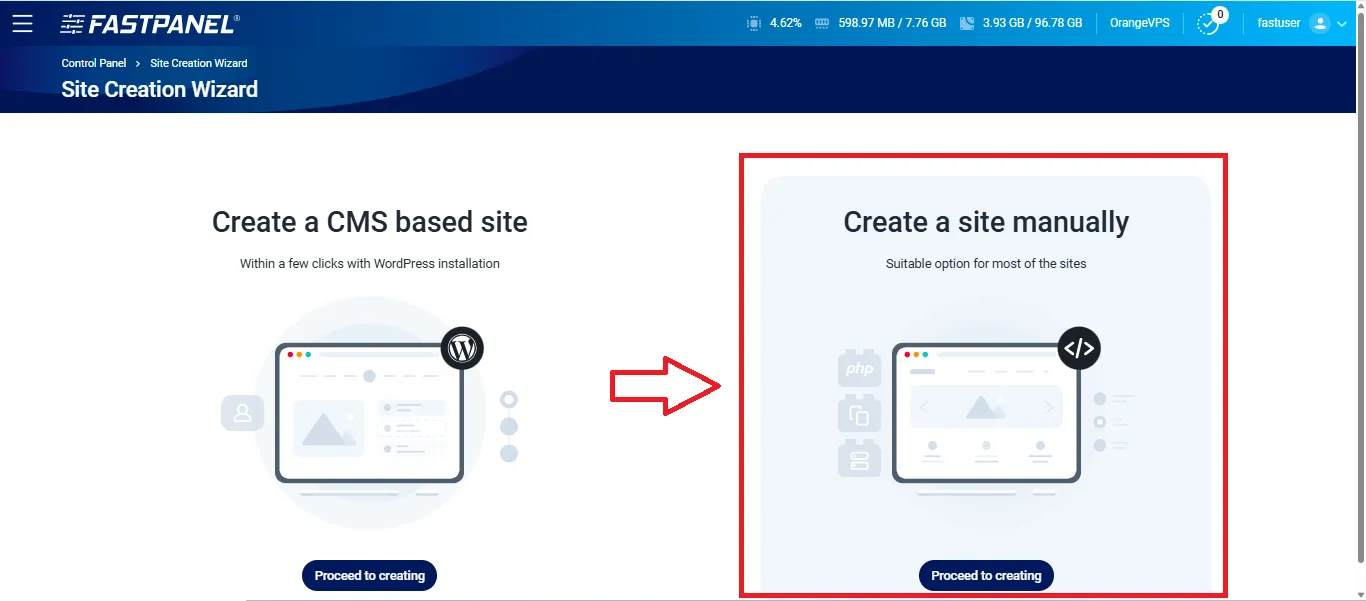
Choose Create a site manually
Domain Binding
Fill Domain Binding
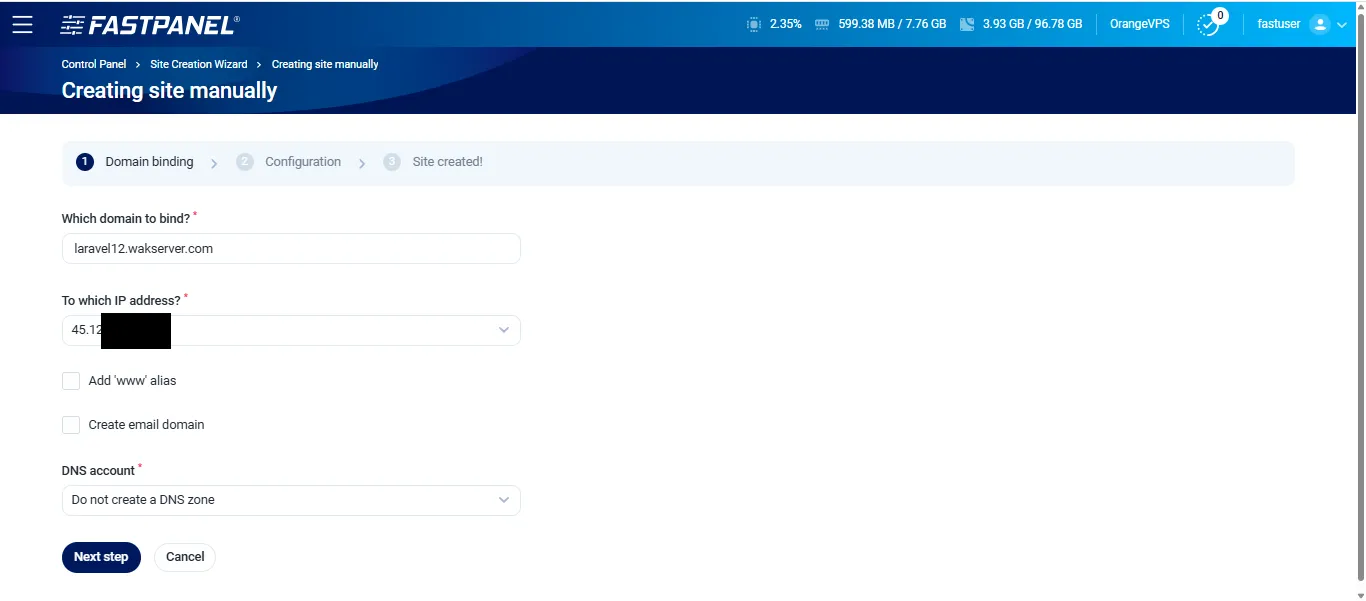
- Which domain to bind?
laravel12.wakserver.com - To which IP address? (this will choose automatically your server IP)
- Add ‘www’ alias (choose if you using main domain)
- Create email domain (choose if you maintain email on this server)
- DNS account (because we use cloudflare, we will choose `Do not create a DNS Zone)
After that click Next Step
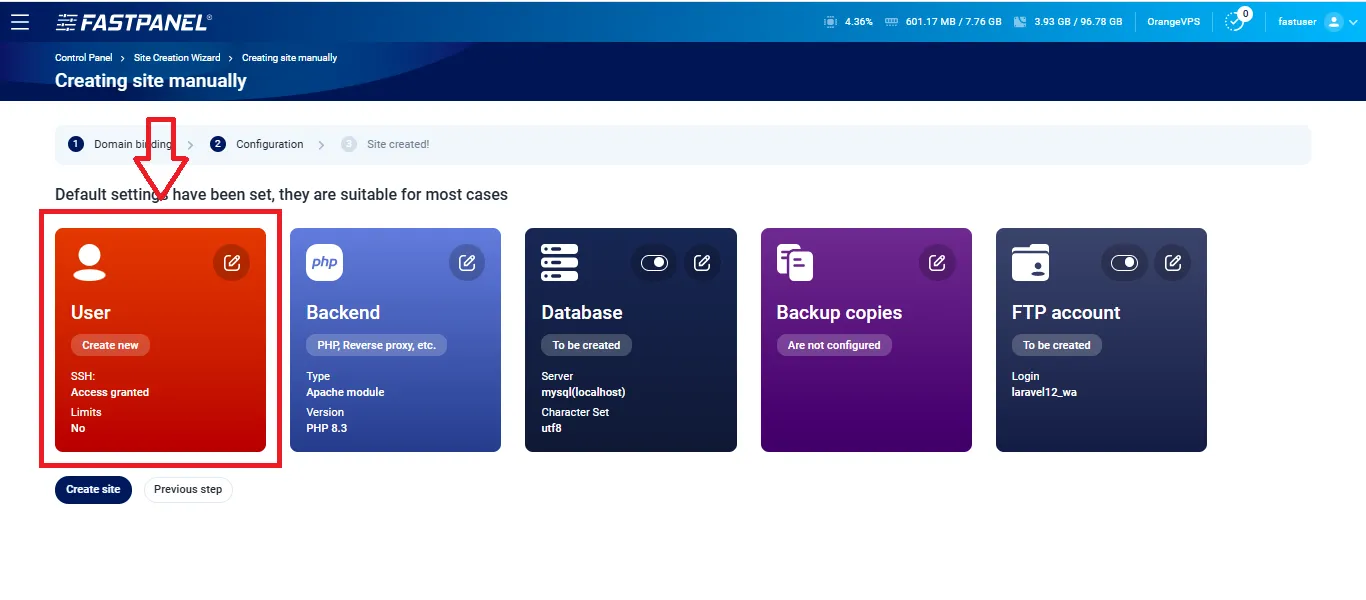
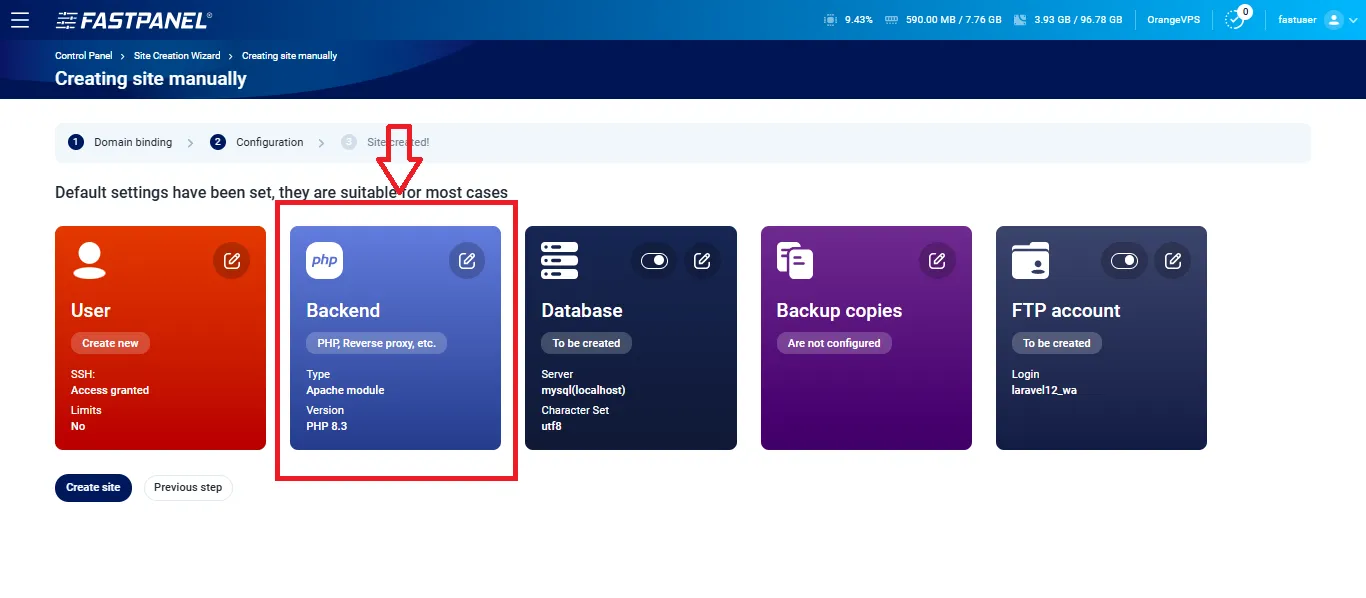
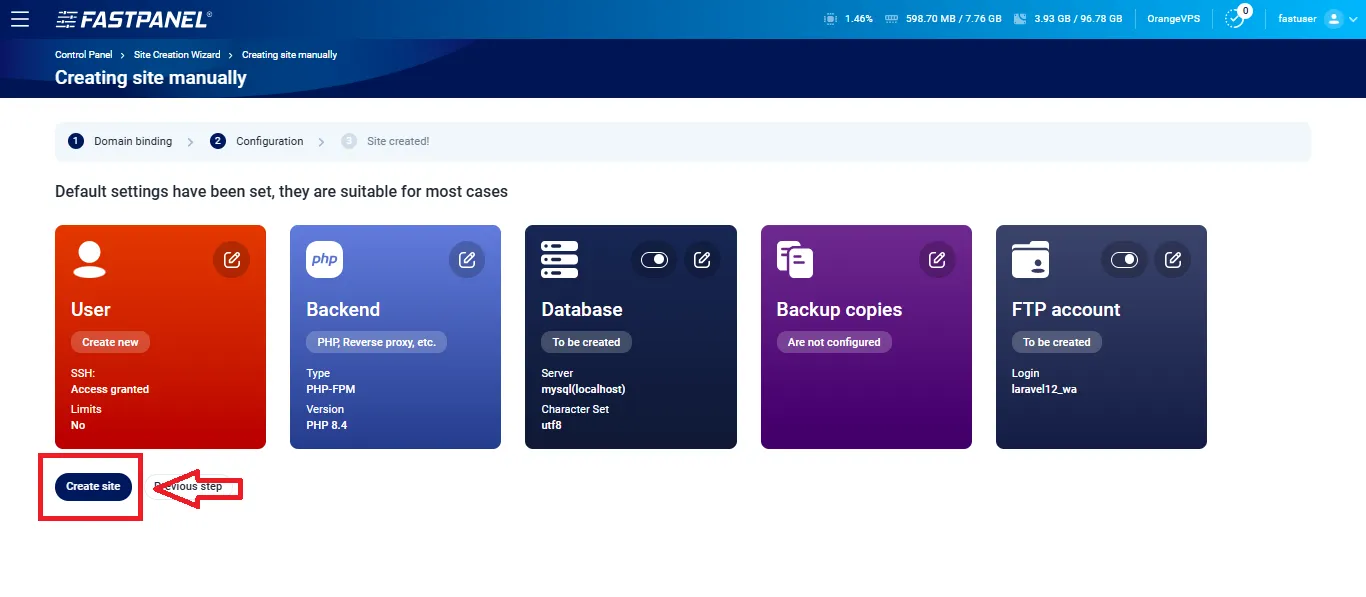
Default settings have been set, they are suitable for most cases. But we must setup something different for Laravel.
Create User for Website
Now, choose User, we will create new user for this project.
Fill the user form
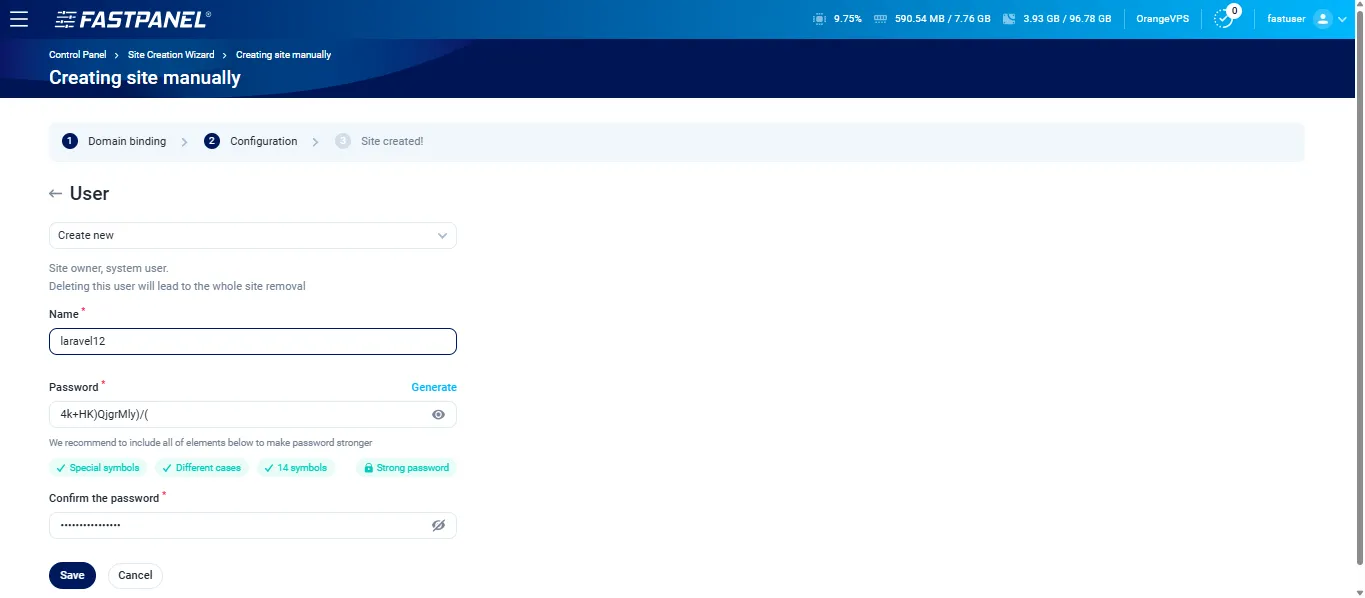
- Create new
- Name (change the user name, on this case i’ll set
laravel12) - Password (write down that password)
- Confirm Password (same as password)
- After that click
Save
Setup Backend
Now, choose Backend, we will setup backend.
On this case because we use Nginx now setup :
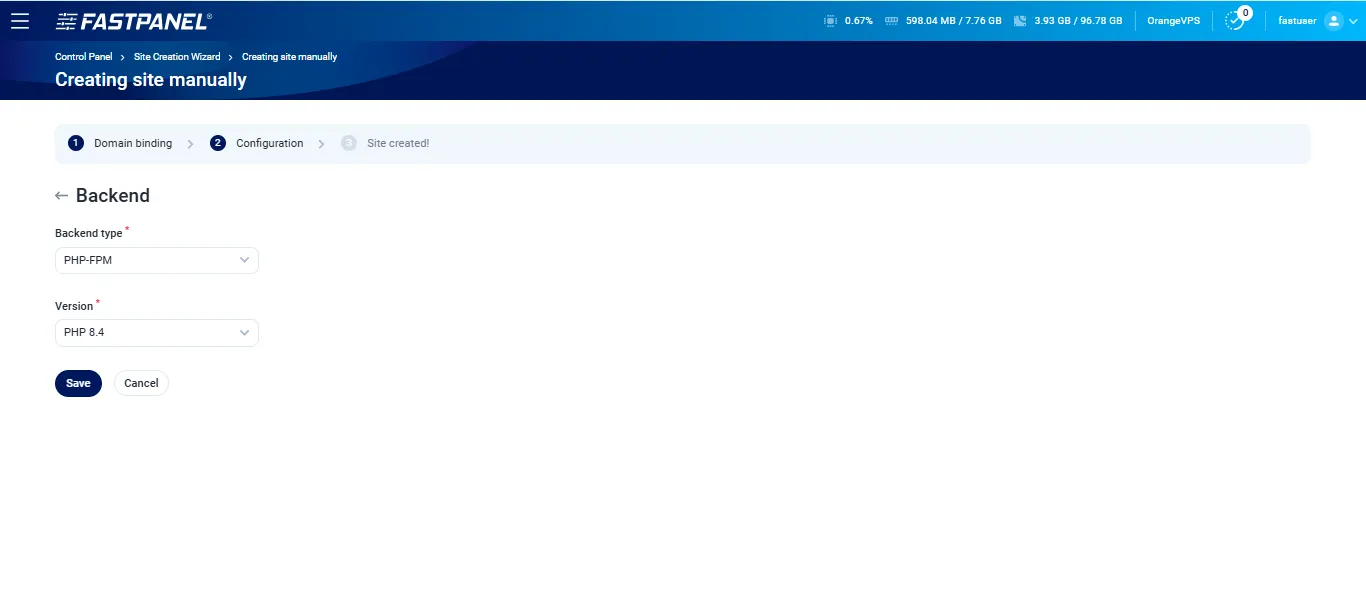
- Backend-type :
PHP-FPM - Version :
PHP 8.4 - After that click
Save
Setup Database
If you use SQLite you can skip this step.
Now, choose Database, we will setup database.
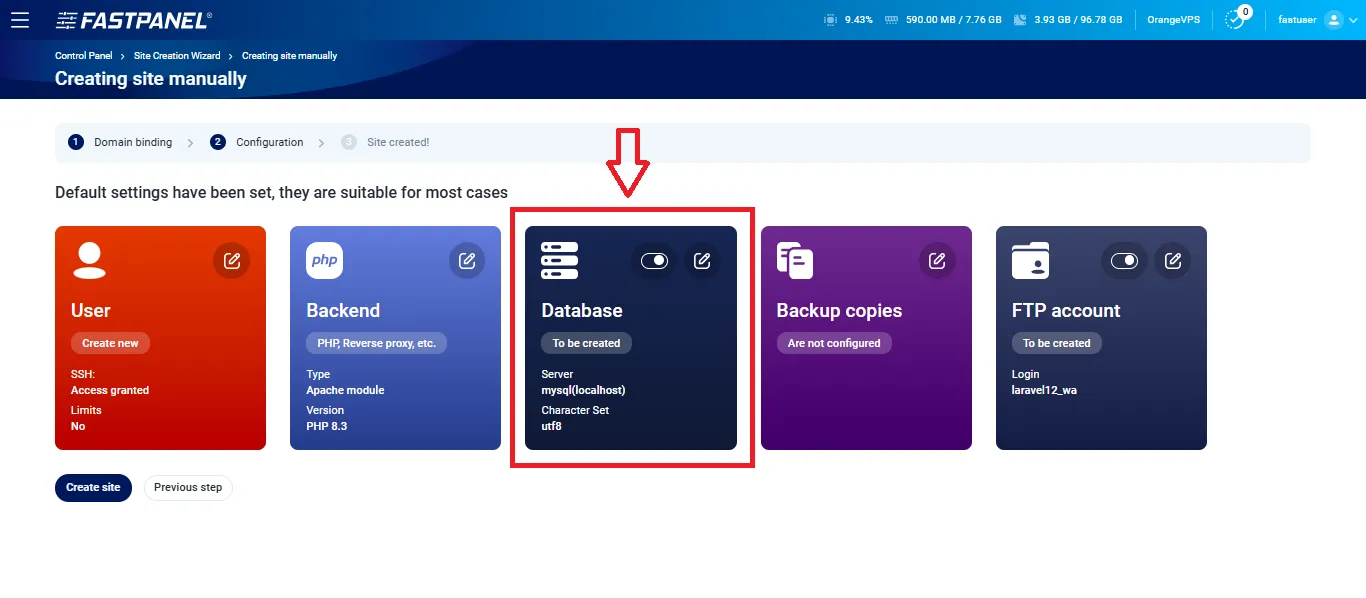
Then, fill database form.

- Name : This will be database name
laravel12-data - Character set :
utf8 - Server :
mysql(localhost) - User :
Create new user(this for database user not website user) - Login :
laravel12-user - Password : Choose your password or copy that random generate
- Confirm Password : same as password
- After that click
Save
You can choose create backup or ftp user, but i’ll skip this step now.
Next don’t forget to click Create site
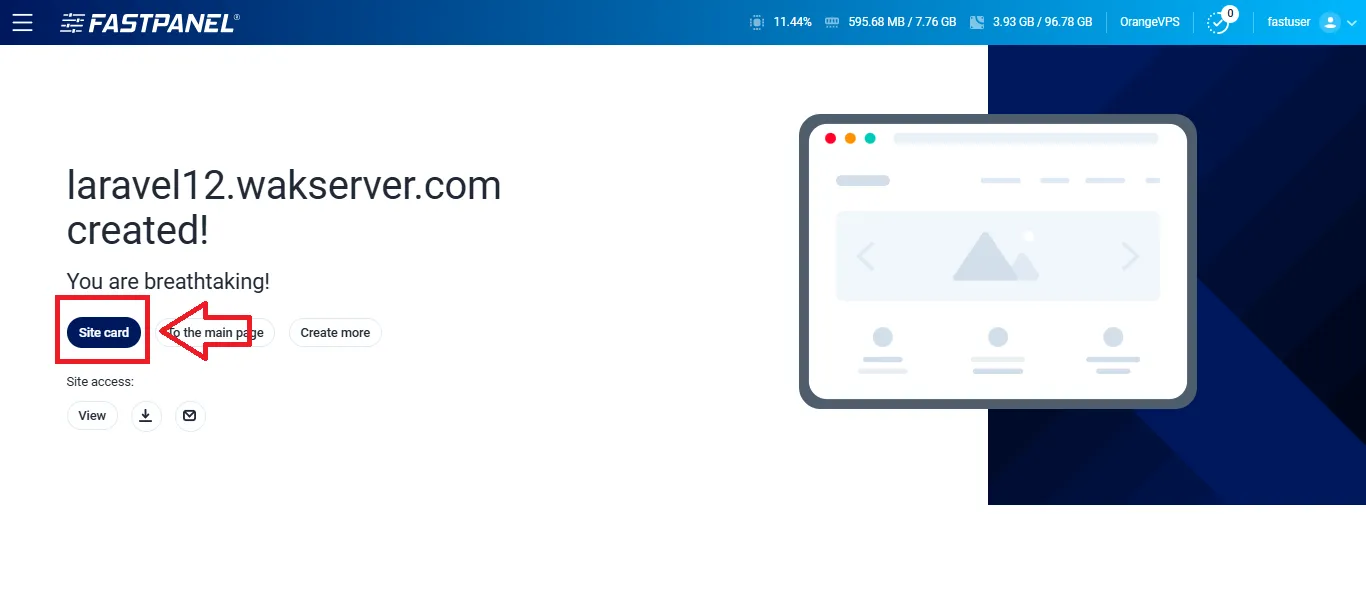
After successfully site created, click on Site card
Setting Site Directory
Choose Settings
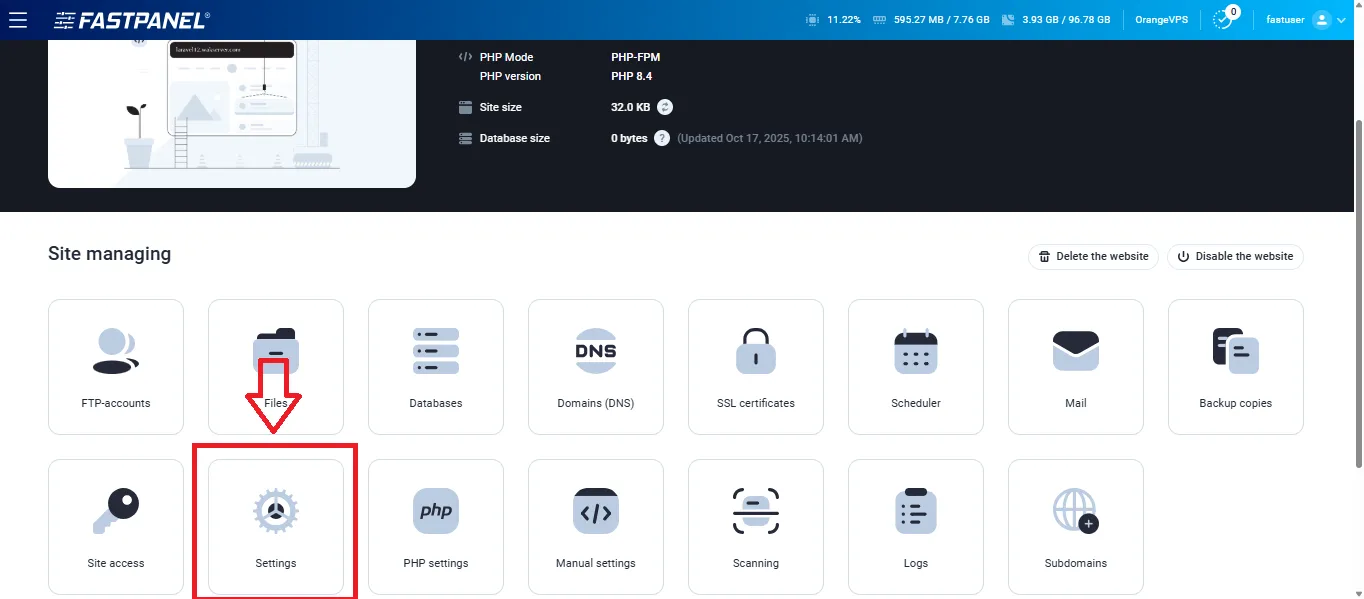
Setting Site Directory
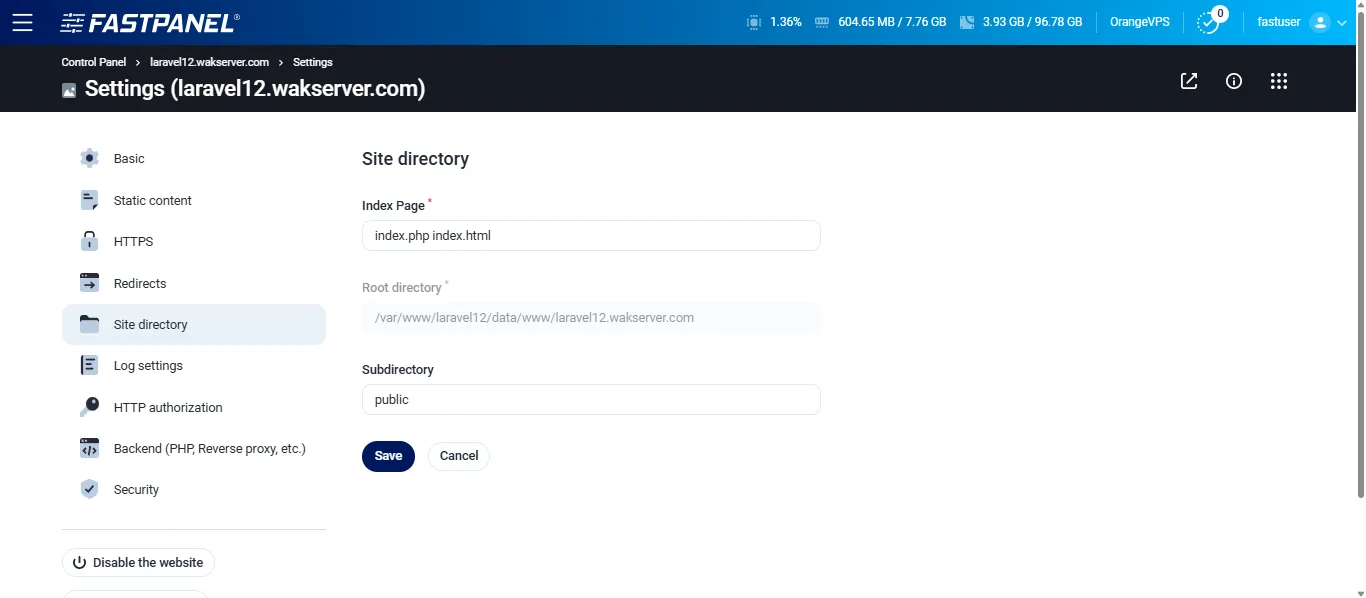
- Subdirectory :
public
Deployment Steps
Set CLI user using PHP8.4
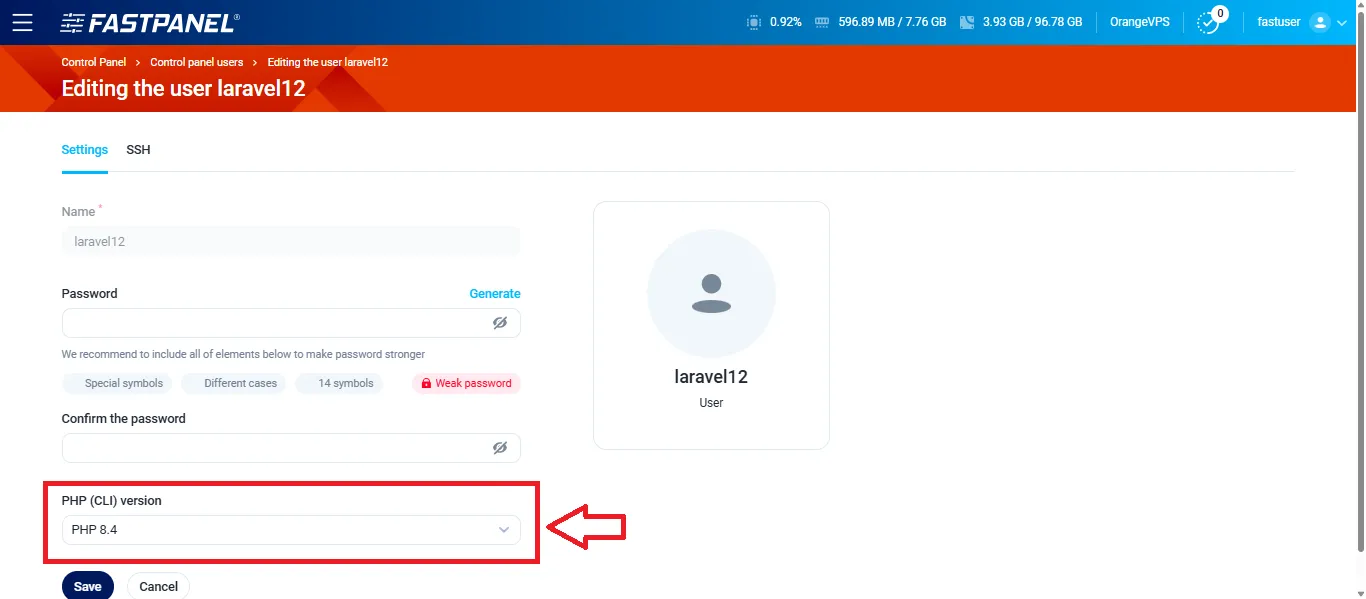
Go to Management -> Users and Edit User
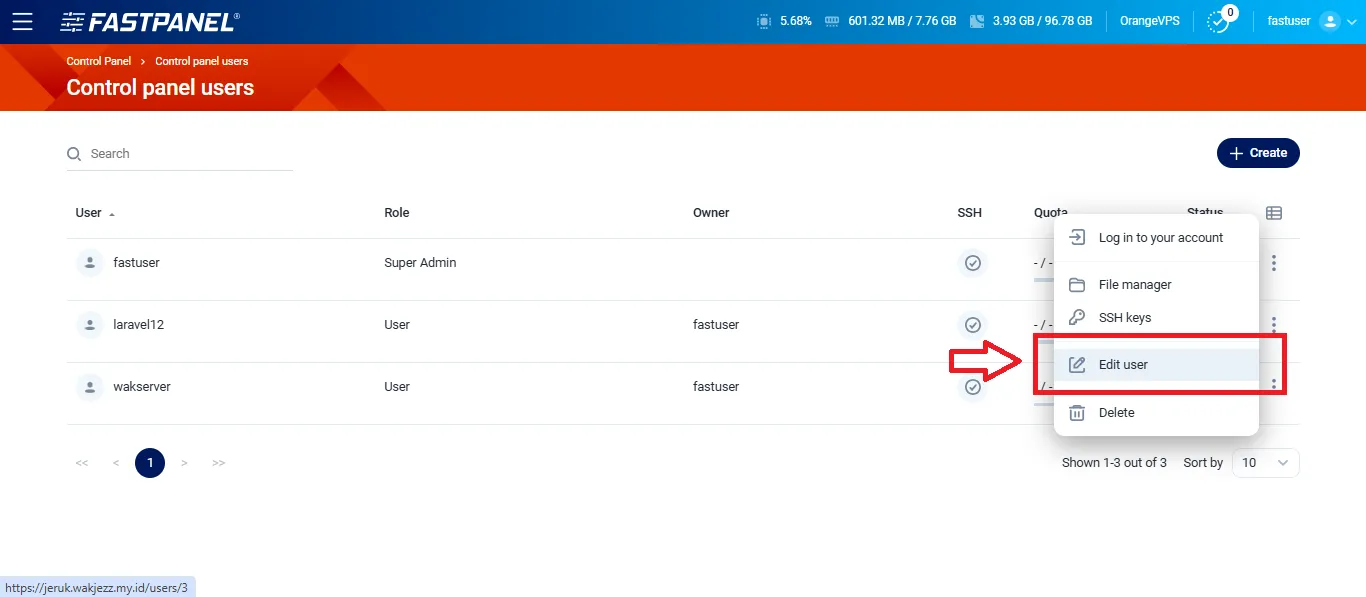
Choose PHP (CLI) Version : PHP 8.4
Login to server using SSH
Login to server with user and password that we make before
ssh laravel12@IP_SERVERCheck PHP Version
Check PHP Version to make sure we user PHP 8.4
php -vlaravel12@jeruk:~$ php -v
PHP 8.4.12 (cli) (built: Sep 4 2025 15:10:05) (NTS)
Copyright (c) The PHP Group
Zend Engine v4.4.12, Copyright (c) Zend Technologies
with Zend OPcache v8.4.12, Copyright (c), by Zend TechnologiesInstall Nodejs
Because laravel need NPM to build they assets, so we need to install nodejs.
In this case i’ll using NVM
This will install NVM with NodeJS LTS Version and update NPM to the latest.
curl -o- https://raw.githubusercontent.com/nvm-sh/nvm/v0.40.3/install.sh | bash && source ~/.bashrc && nvm install --lts && npm i -g npm@latestCheck if Nodejs and NPM was successfully installed
node -v && npm -vlaravel12@jeruk:~$ node -v && npm -v
v22.20.0
11.6.2Remove default folder
Now we will remove the directory default that create by FASTPANEL®
Go to www directory
cd wwwRemove folder domain
rm -rf your-domainClone from Github
Now we will clone from github, this will create again your folder website :
git clone https://github.com/[username]/[repository].git [your-domain]example :
git clone https://github.com/wakserver/laravel12.git laravel12.wakserver.com

Cloning into 'laravel12.wakserver.com'...
remote: Enumerating objects: 78, done.
remote: Counting objects: 100% (78/78), done.
remote: Compressing objects: 100% (59/59), done.
remote: Total 78 (delta 2), reused 78 (delta 2), pack-reused 0 (from 0)
Receiving objects: 100% (78/78), 93.54 KiB | 206.00 KiB/s, done.
Resolving deltas: 100% (2/2), done.
Setup ENV
Then go to your-domain
cd laravel12.wakserver.comCopy .env.example to .env
cp .env.example .envSetup .env with our FASTPANEL® before
APP_NAME=Laravel
APP_ENV=production
APP_KEY=
APP_DEBUG=false
APP_URL=https://laravel12.wakserver.com

APP_LOCALE=en
APP_FALLBACK_LOCALE=en
APP_FAKER_LOCALE=en_US

APP_MAINTENANCE_DRIVER=file
# APP_MAINTENANCE_STORE=database

PHP_CLI_SERVER_WORKERS=4

BCRYPT_ROUNDS=12

LOG_CHANNEL=stack
LOG_STACK=single
LOG_DEPRECATIONS_CHANNEL=null
LOG_LEVEL=debug

DB_CONNECTION=mariadb
DB_HOST=127.0.0.1
DB_PORT=3306
DB_DATABASE=laravel-data
DB_USERNAME=laravel-user
DB_PASSWORD=database-password

SESSION_DRIVER=database
SESSION_LIFETIME=120
SESSION_ENCRYPT=false
SESSION_PATH=/
SESSION_DOMAIN=null

BROADCAST_CONNECTION=log
FILESYSTEM_DISK=local
QUEUE_CONNECTION=database

CACHE_STORE=database
# CACHE_PREFIX=

MEMCACHED_HOST=127.0.0.1

REDIS_CLIENT=phpredis
REDIS_HOST=127.0.0.1
REDIS_PASSWORD=null
REDIS_PORT=6379

MAIL_MAILER=log
MAIL_SCHEME=null
MAIL_HOST=127.0.0.1
MAIL_PORT=2525
MAIL_USERNAME=null
MAIL_PASSWORD=null
MAIL_FROM_ADDRESS="hello@example.com"
MAIL_FROM_NAME="${APP_NAME}"

AWS_ACCESS_KEY_ID=
AWS_SECRET_ACCESS_KEY=
AWS_DEFAULT_REGION=us-east-1
AWS_BUCKET=
AWS_USE_PATH_STYLE_ENDPOINT=false

VITE_APP_NAME="${APP_NAME}"
Run Deployment
Then run :
composer install --optimize-autoloader --no-devphp artisan key:generatephp artisan migratenpm installnpm run buildphp artisan optimize:clearphp artisan optimizeNow, try access our website
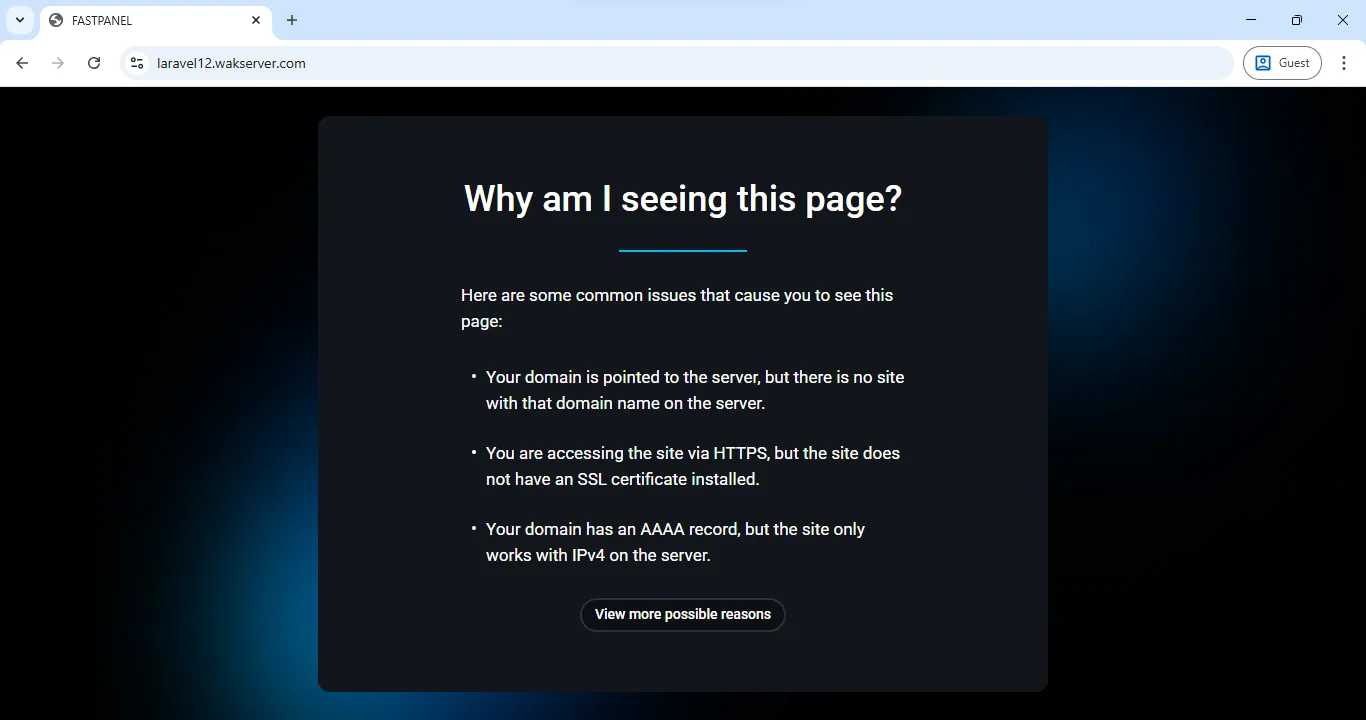
Fix Error Because SSL
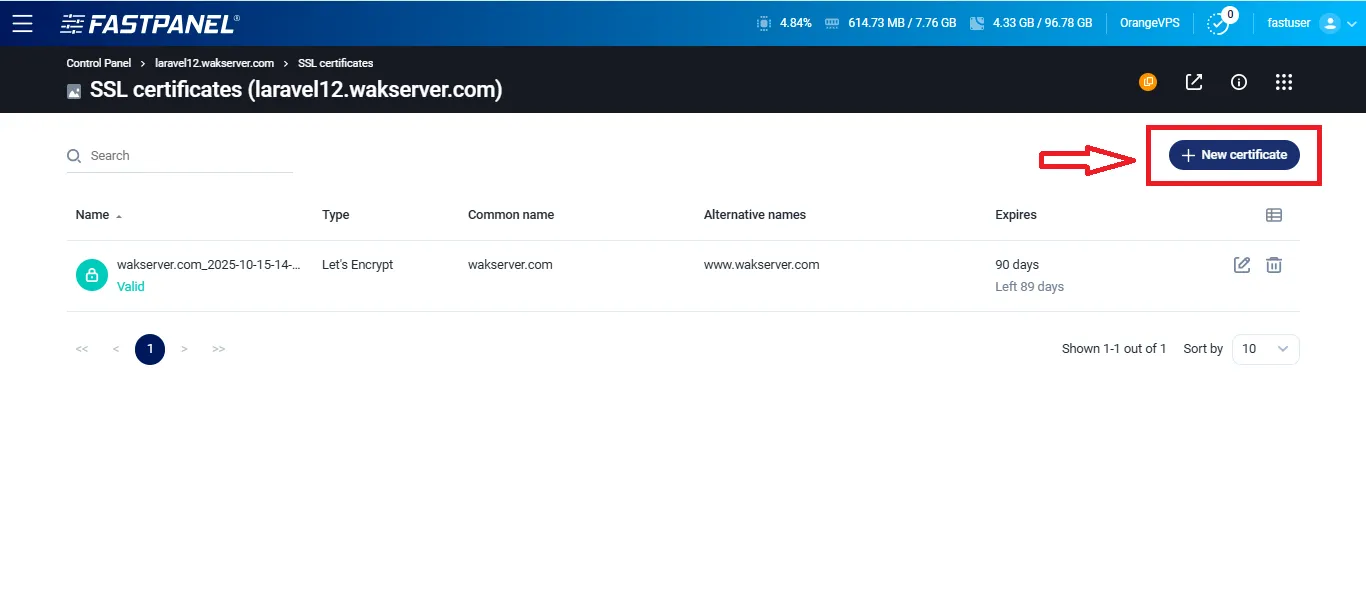
Yes, this will show that pages, because we not set SSL yet. Now, back to fastpanel dashboard and choose our website within click Site Card than Click on SSL certificates.
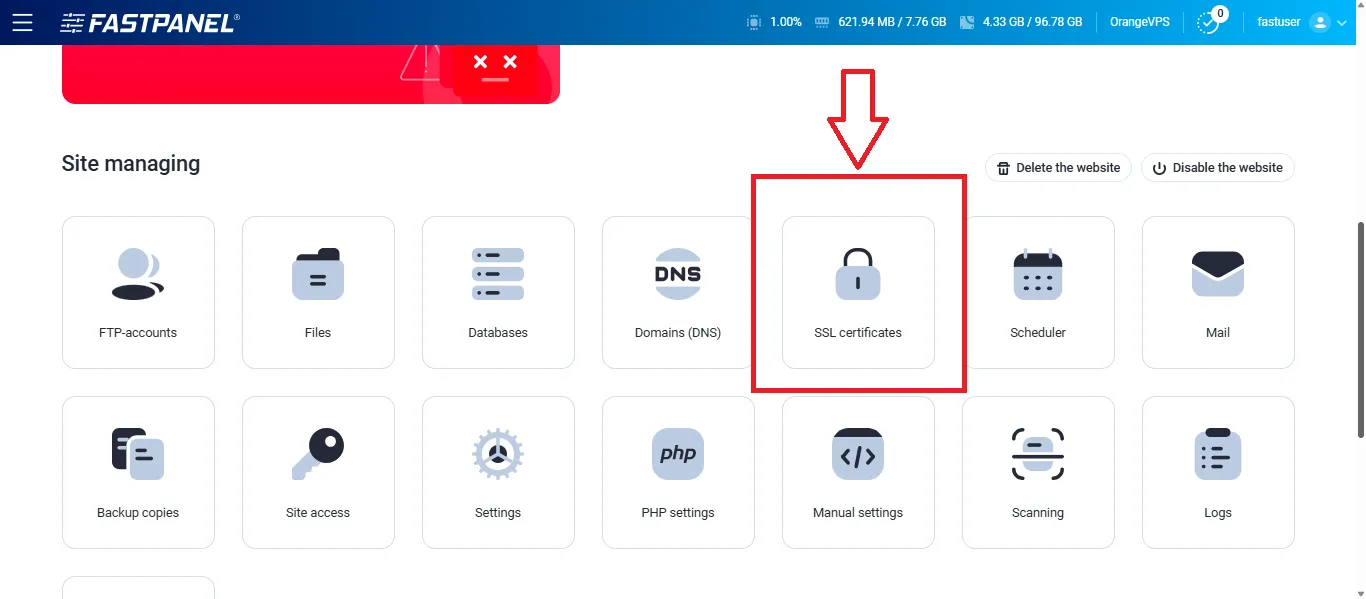
Click New certificate
Than you can choose SSL type
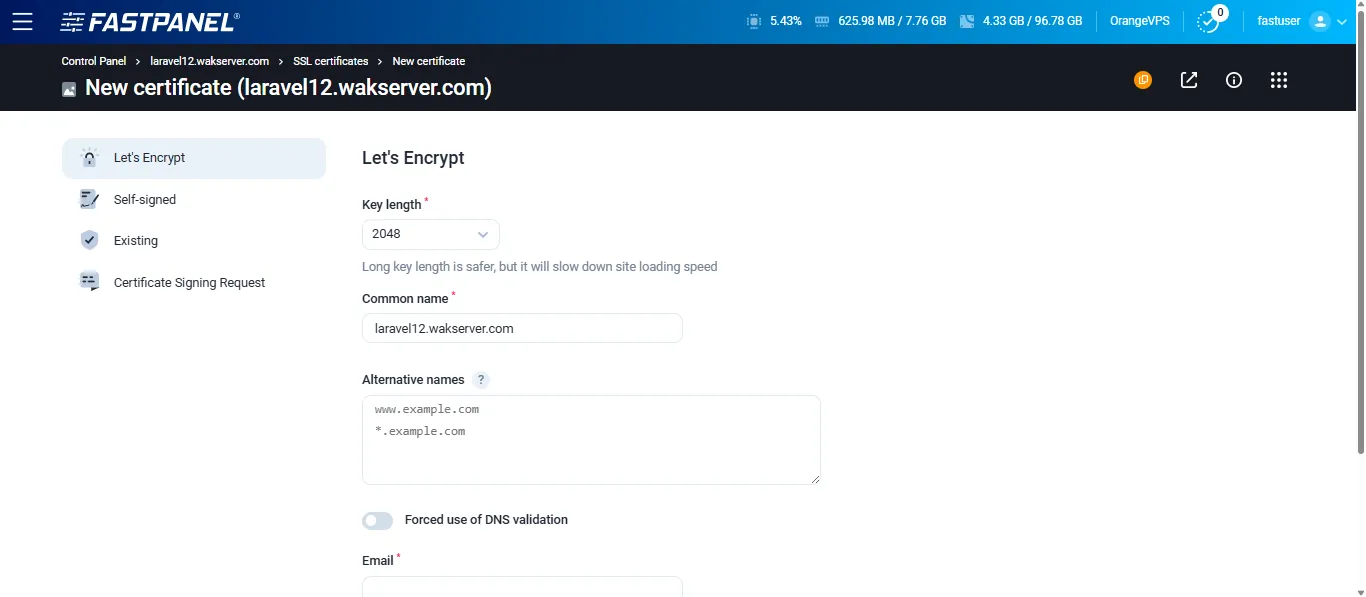
- Let’s Encrypt
- Self-signed
- Existing
- Certificate Signing Request
We will use Let’s Encrypt than Save and wait for issuing SSL.
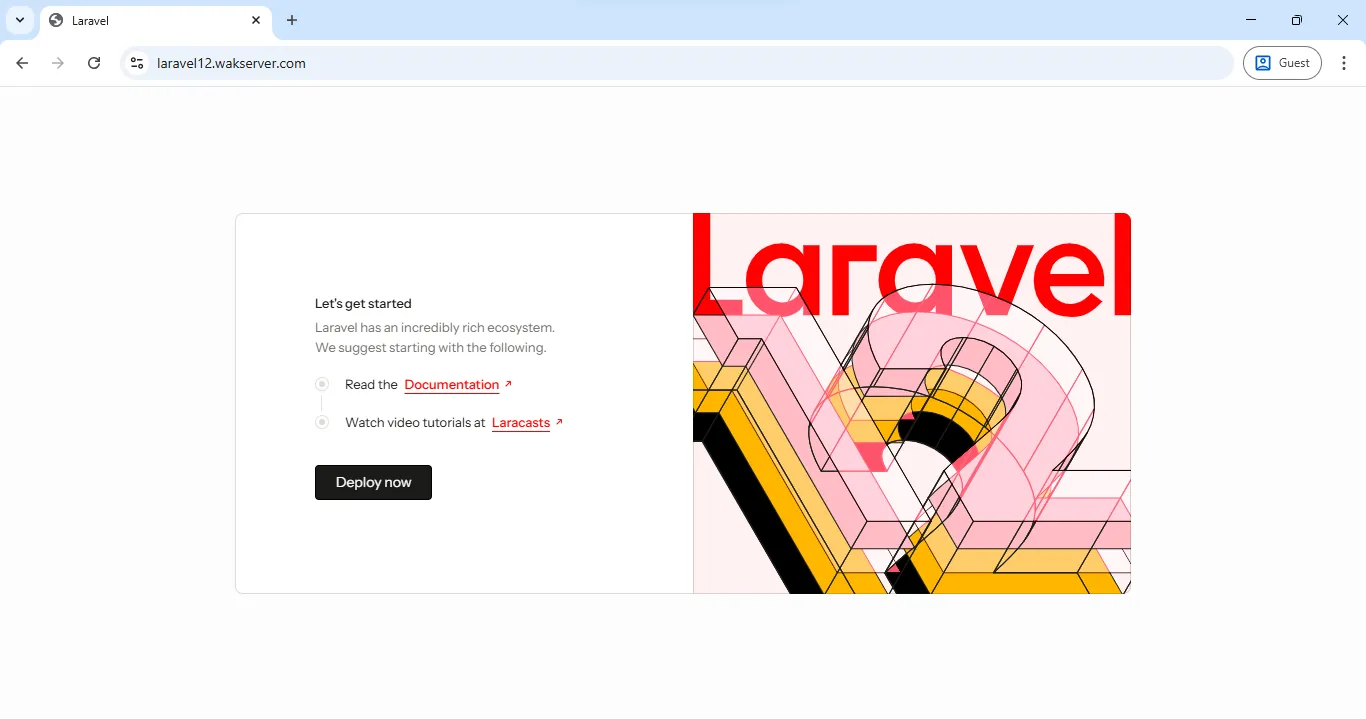
Now, back to Site Managing and Choose Settings again than HTTPS than Save.

Than try refresh website. Congratulations! You have successfully deploy laravel on FASTPANEL®.
Conclusion
Awesome — your Laravel 12 project is now up and running on FASTPANEL® with PHP 8.4 and Nginx. 🎉
By following this guide, you’ve built a clean and production-ready setup for your web application.
FASTPANEL® makes it incredibly easy to manage servers, websites, and applications through a simple web interface.
Now that your Laravel app is live, here are a few next steps you might want to take:
- ⚙️ Configure Supervisor to manage Laravel queue workers
- 🕒 Add cron jobs for Laravel’s task scheduler
- 🧩 Explore automatic backups and performance monitoring in FASTPANEL®
With this setup complete, your Laravel application is ready to serve users — fast, stable, and secure. 🚀